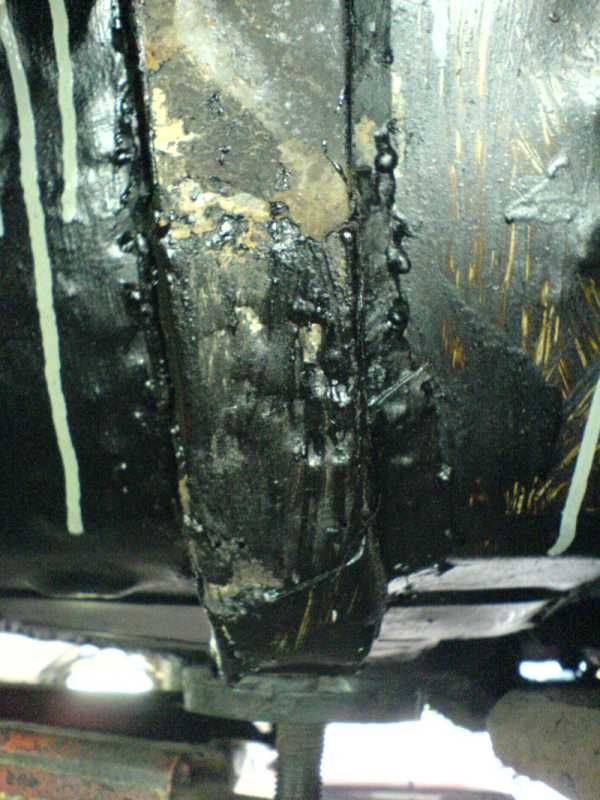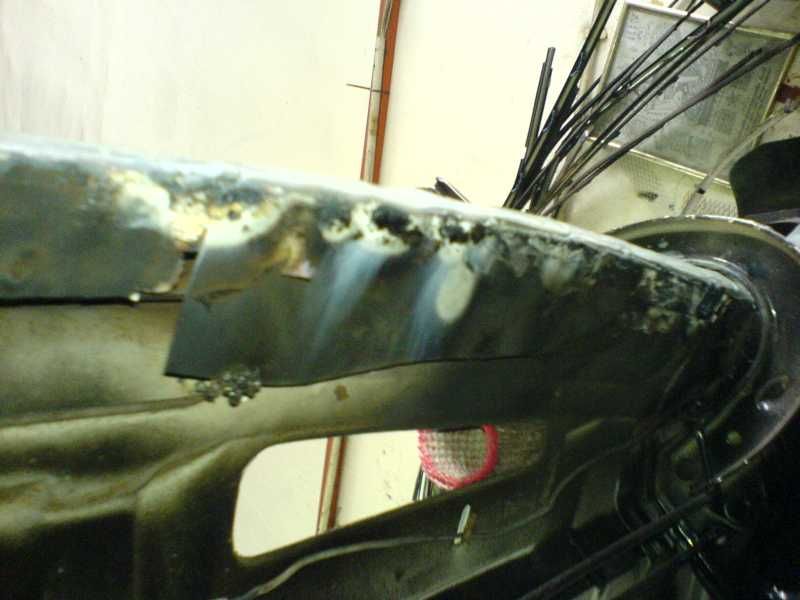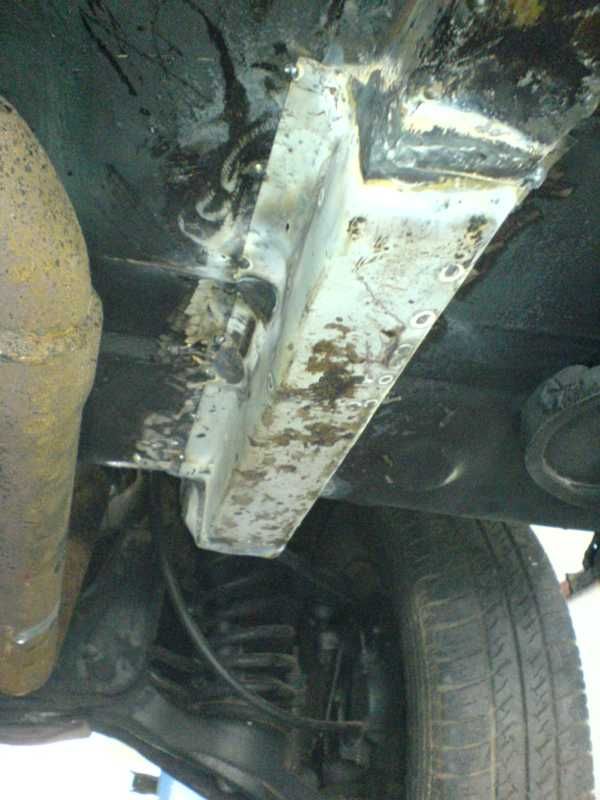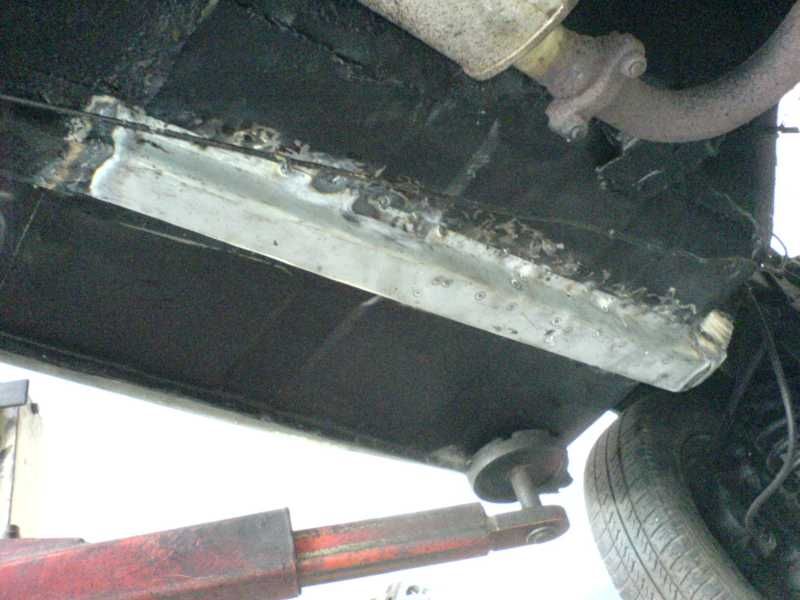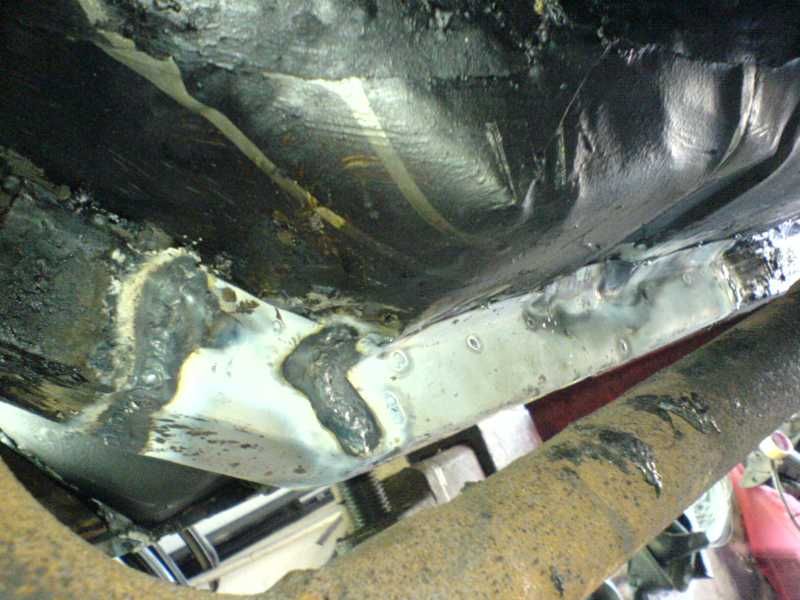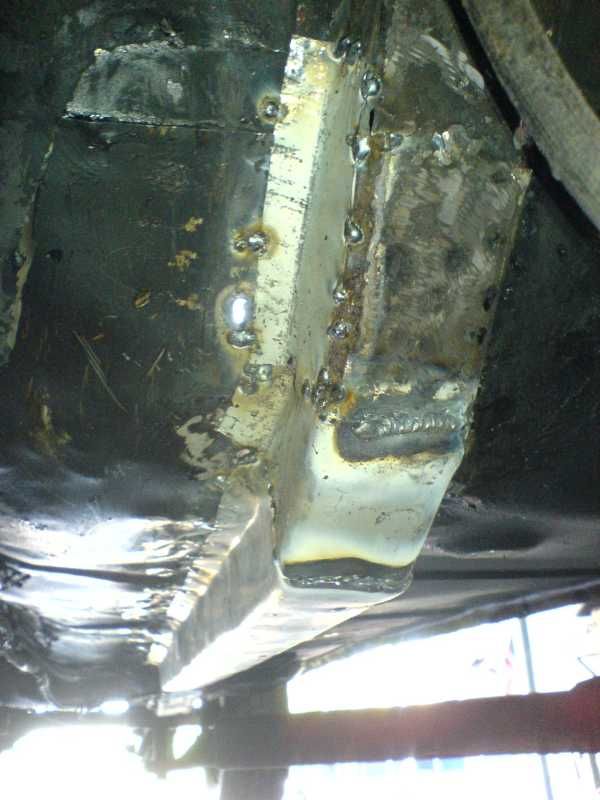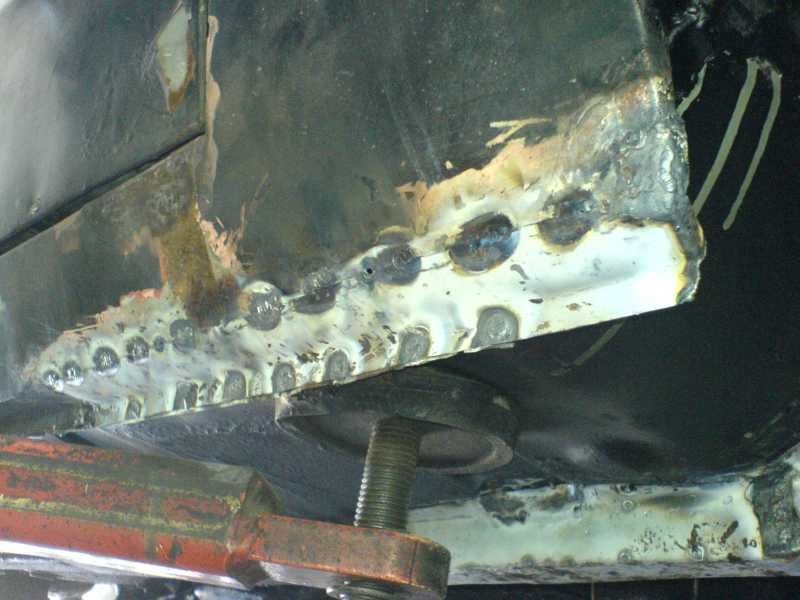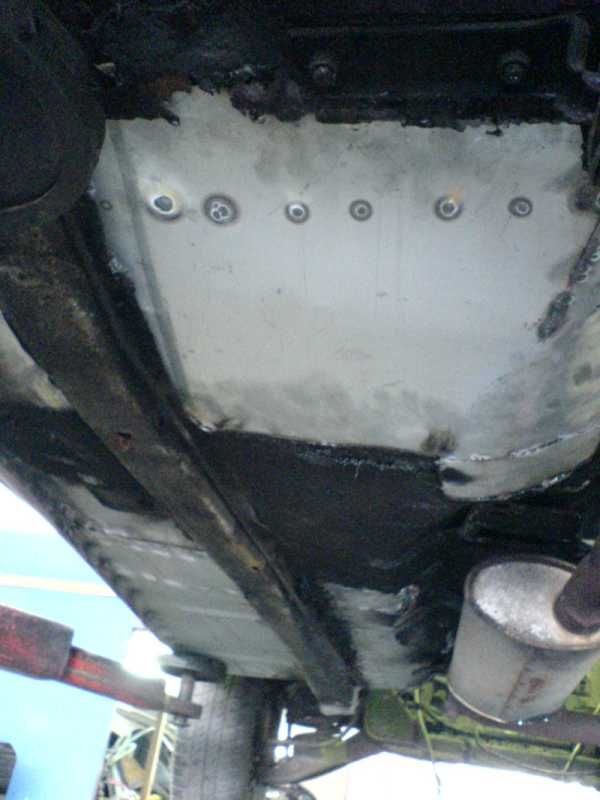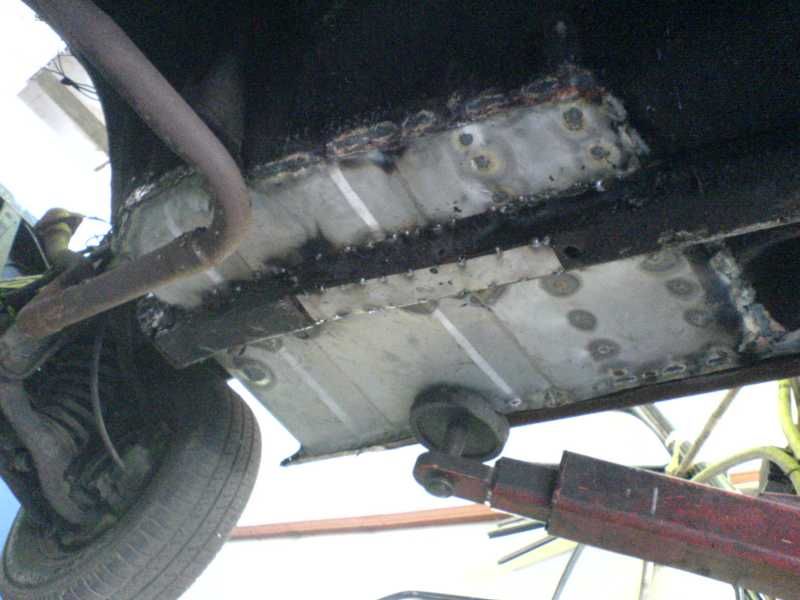
again not too happy with some of the welds as they were basically tack welds again. so i told the worker to seam weld every bloody tack weld where possible. they fitted the petrol tank so i told them to remove it and store it nicely cause we don't want big bulky things like that being in the way when we get the body to the painter.

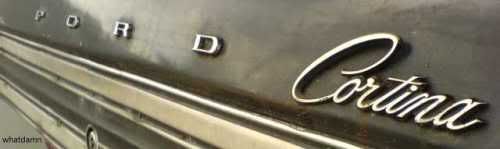
was just hanging around the shop when one of the workers decided to fit the boot and bonnet back on to grind it along with the other remaining panels. that was when i got a shock when one of the letter 'F' from the bonnet was missing! i asked the guy, "where the hell isit!?! it's expensive and difficult to find a replacement part for this you know?" then he went of searching all possible places. but somehow, i remembered seeing it somewhere around the shop thinking it was some random bit of metal lying around. then suddenly i remembered where i saw it, on top of the tina's dashboard! wth man. so anyway, reason why it was there was one of the pins snapped. so some genius decided to just put it on the dashboard. talk about proper practice. sigh, almost unheard of in malaysia i tell you.
so immediately told the guy to remove all the emblems and give them to me for safe keeping. since the painters would also need to remove them, so i'll just keep them for now. hope the painters are not blooming idiots to cover up the holes that are there for the chrome bits to fit though. it's quite possible actually. dumb-ass workers. really makes you wonder where their brains are.
harvinder still hasn't sent the fuel tank cover to ah min for some touching up and refitting. will have to wait till monday cause he'll apparently be going to subang then.
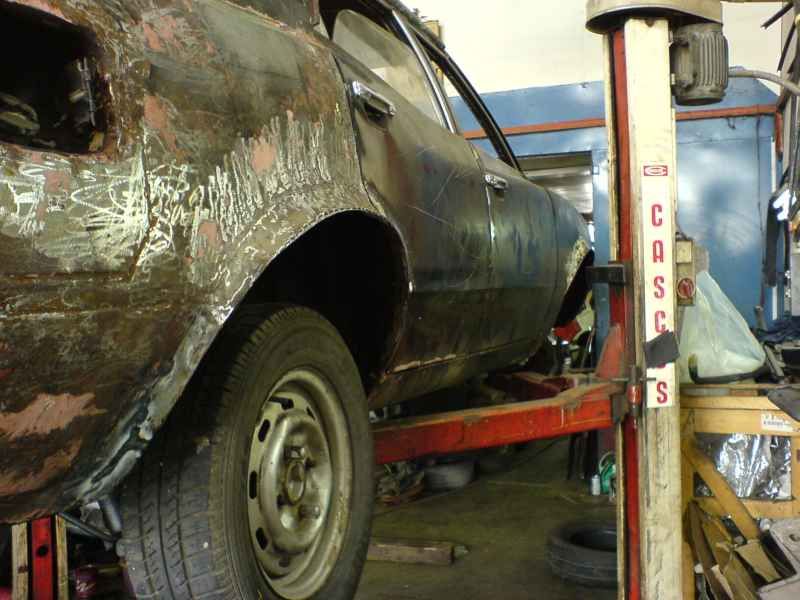
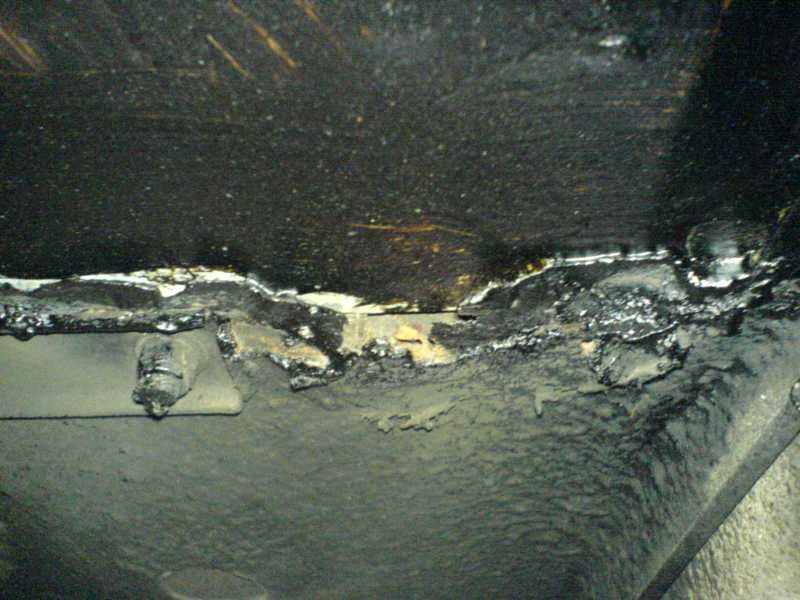
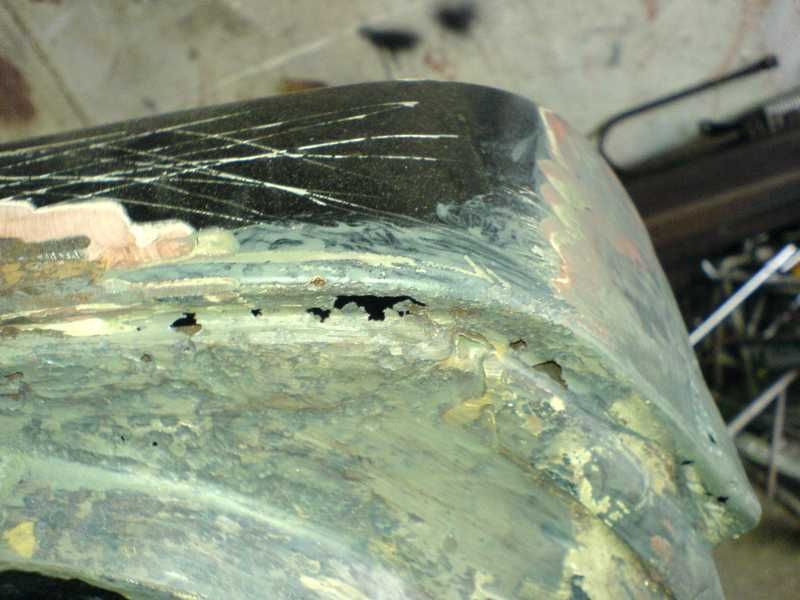
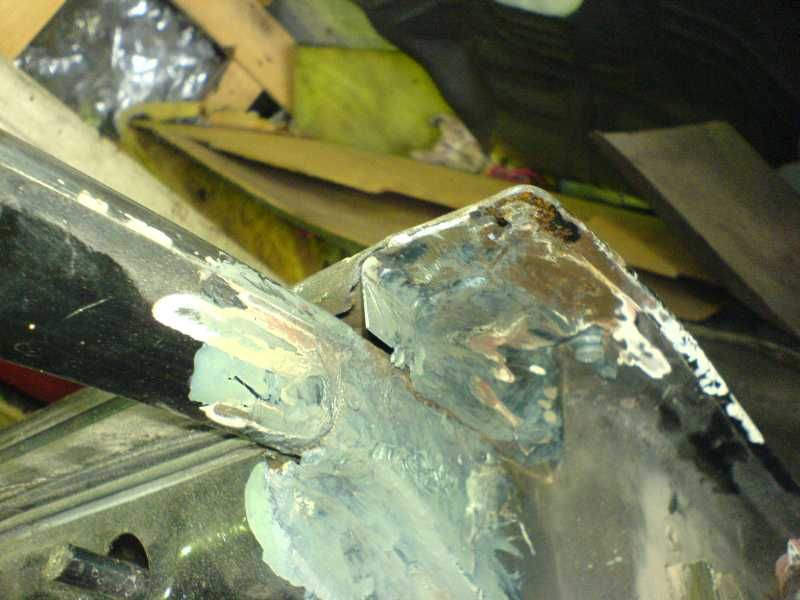
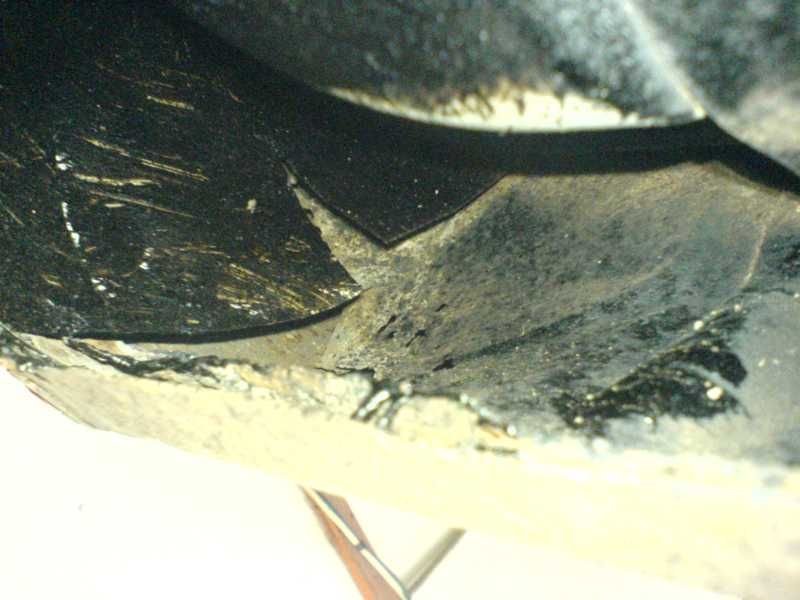
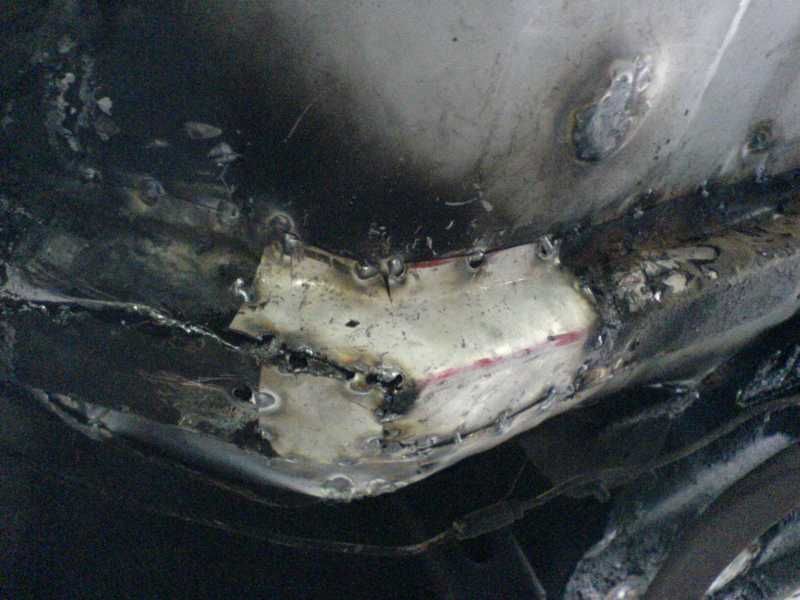
while fitting the boot, the worker ran into some problems trying to get the boot to be flush with the rear panels. the right hand side of the bonnet was fine, just that the other side refused to be flush. it instead decided to be lower than the surrounding area. so the worker hammered it with a hammer and dolly, tried swiveling the bonnet left and right. still not solved since i left. you can see the problem here:
bad

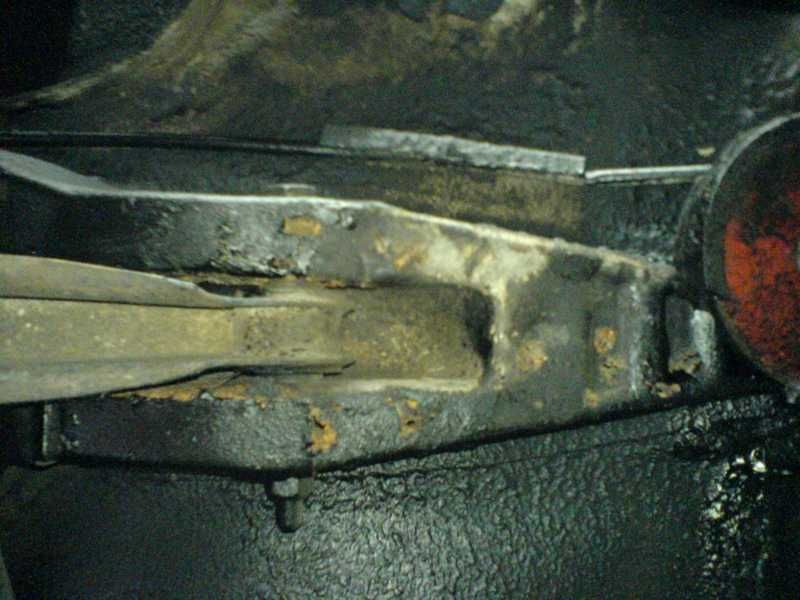
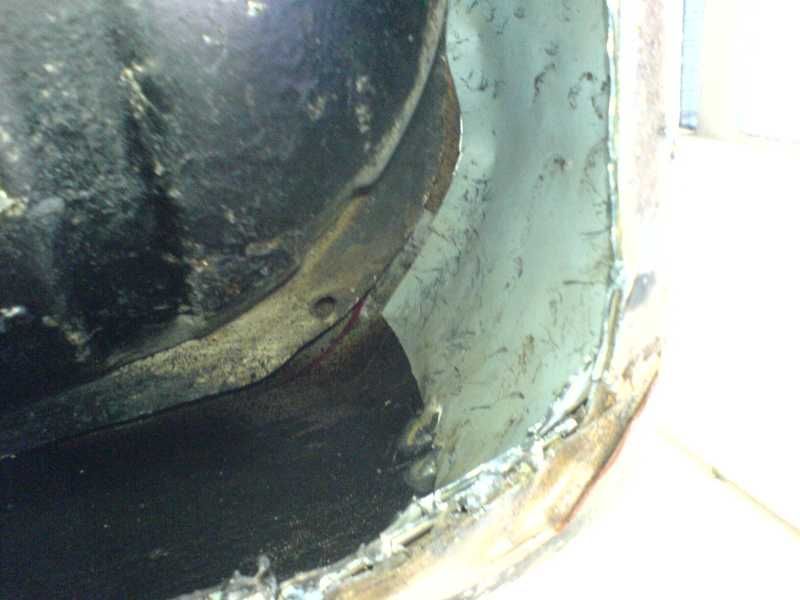
good

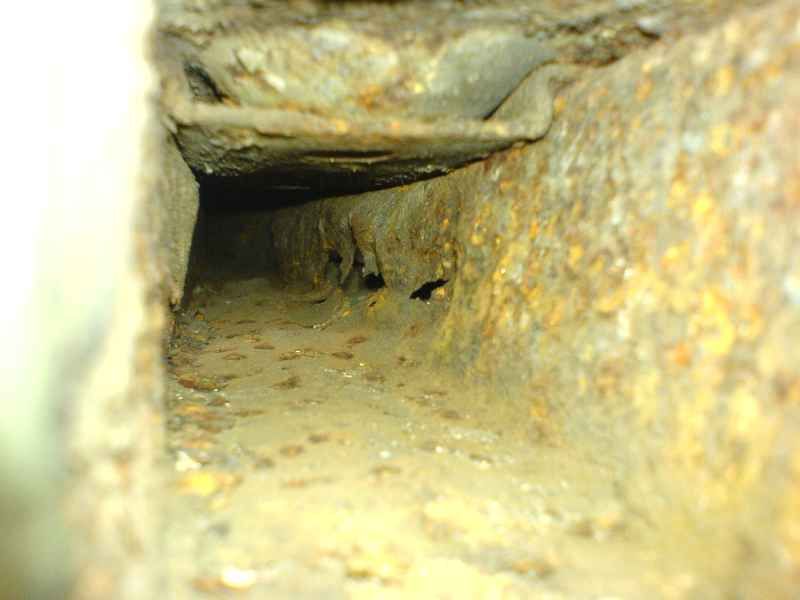
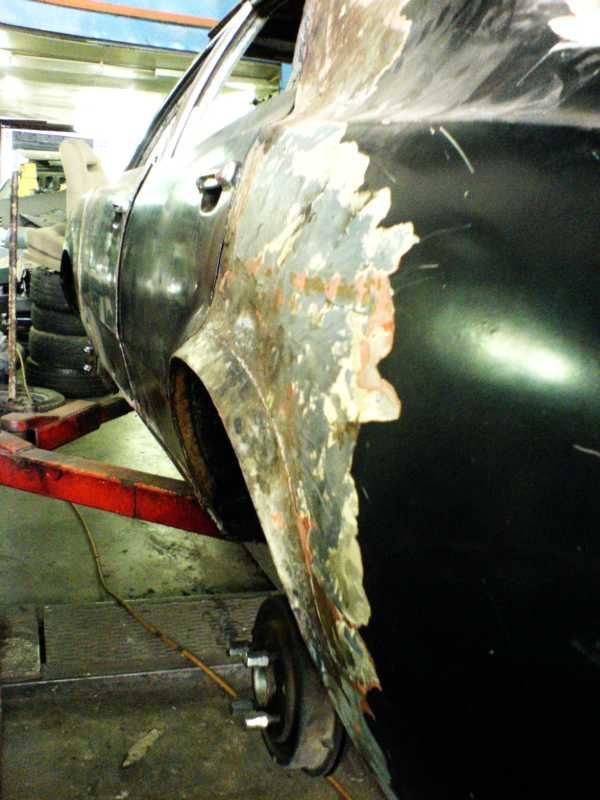
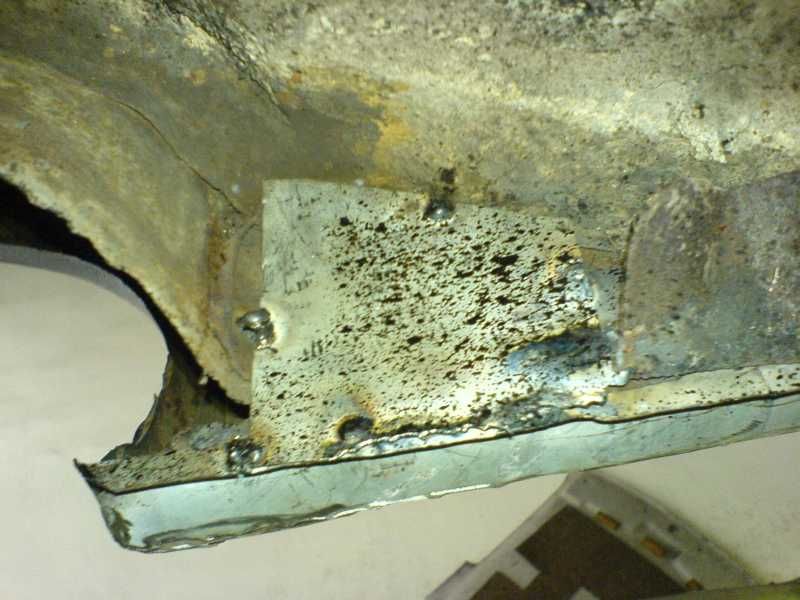
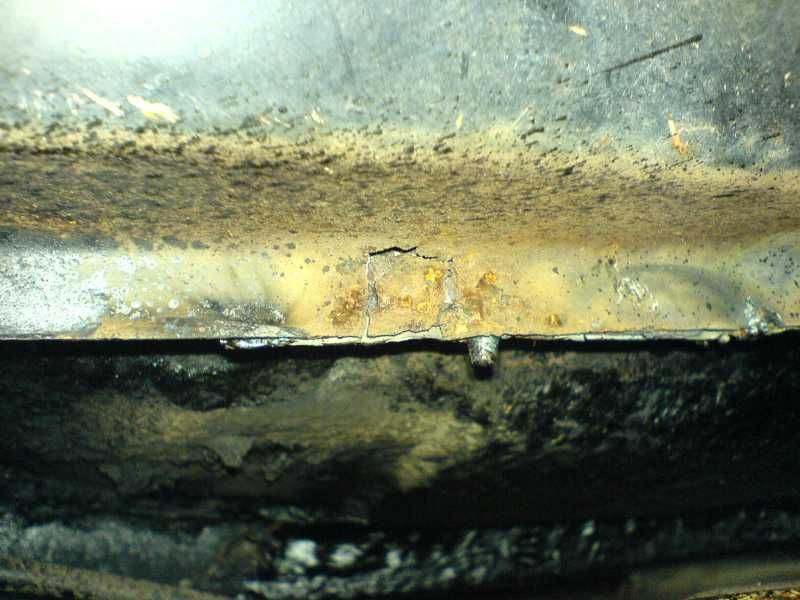
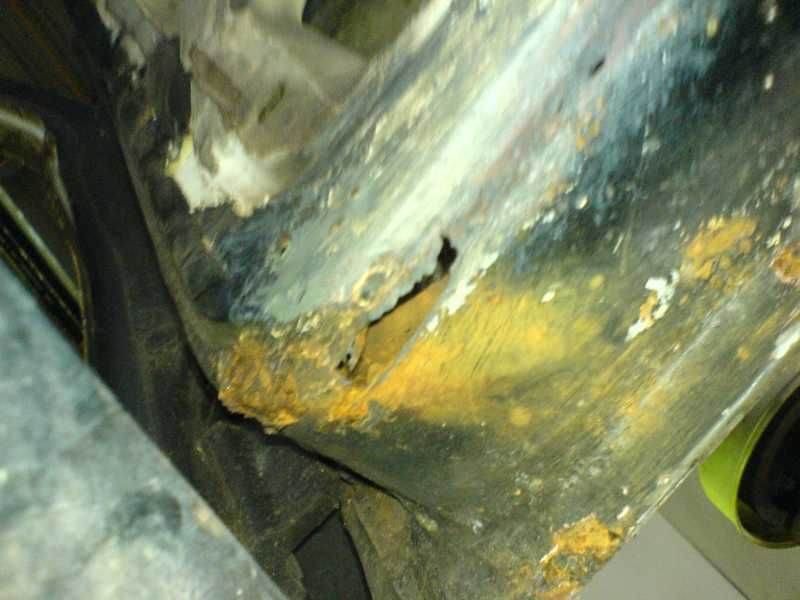
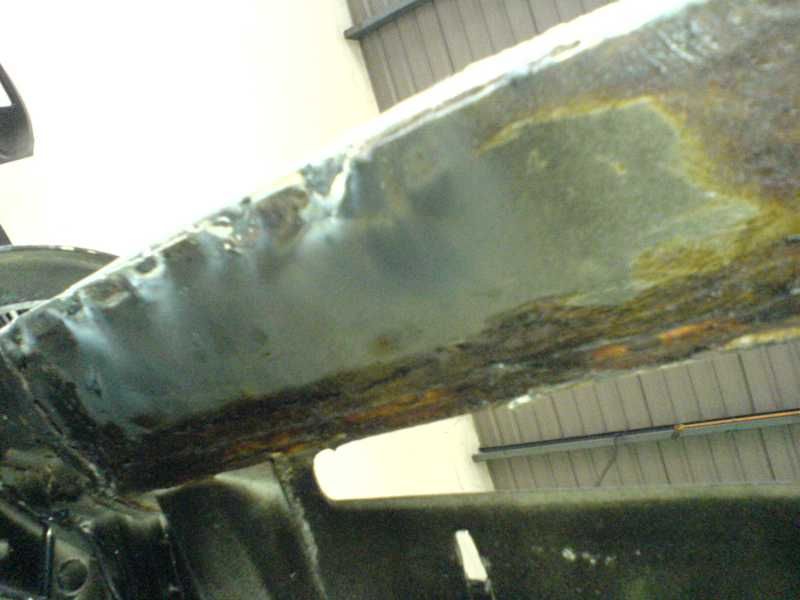
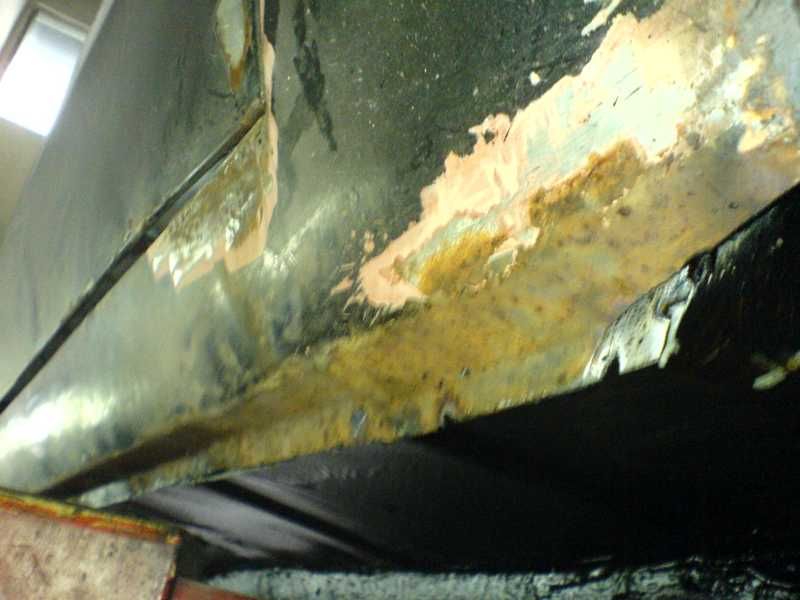
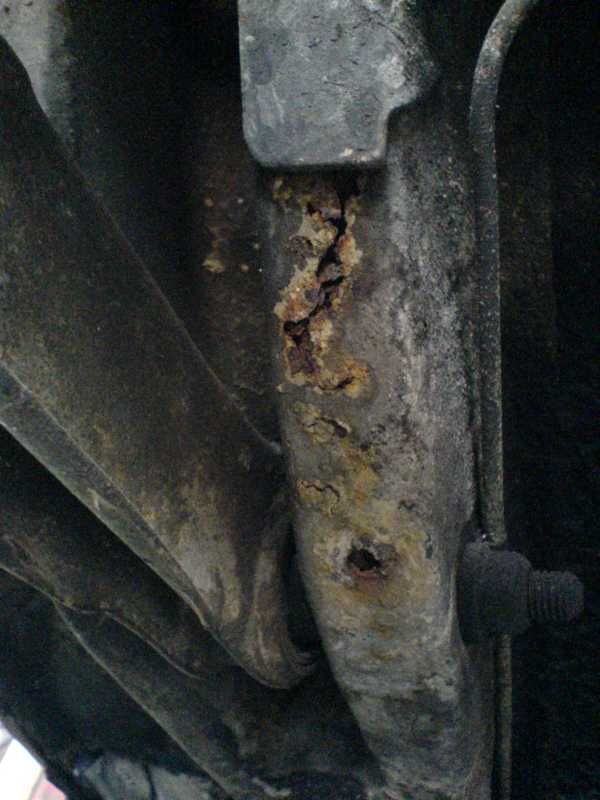
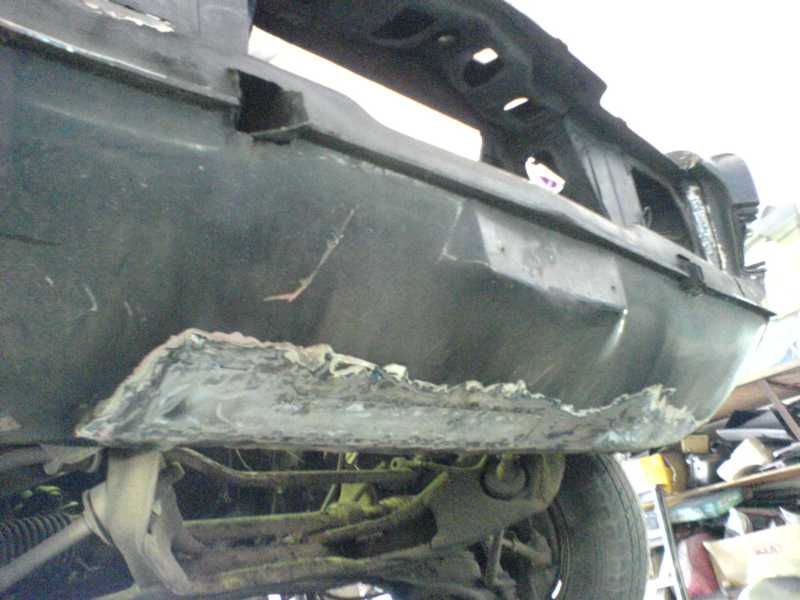
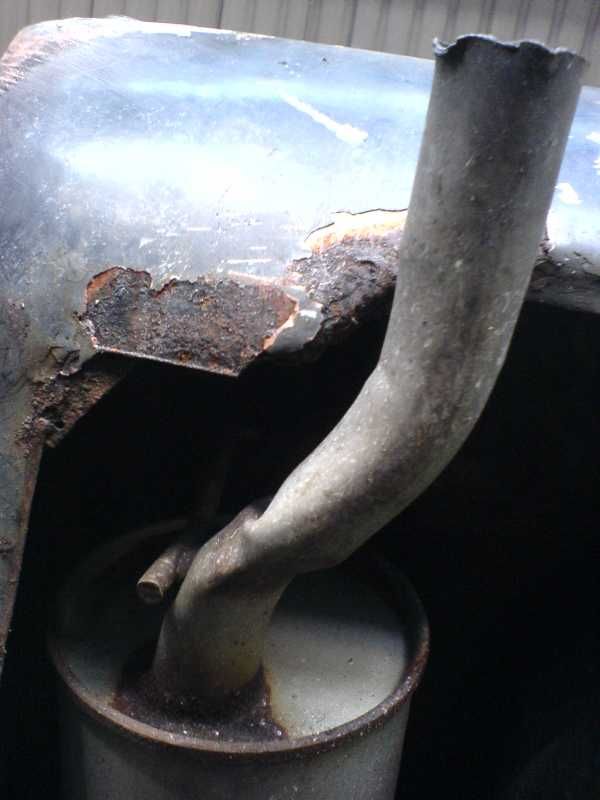
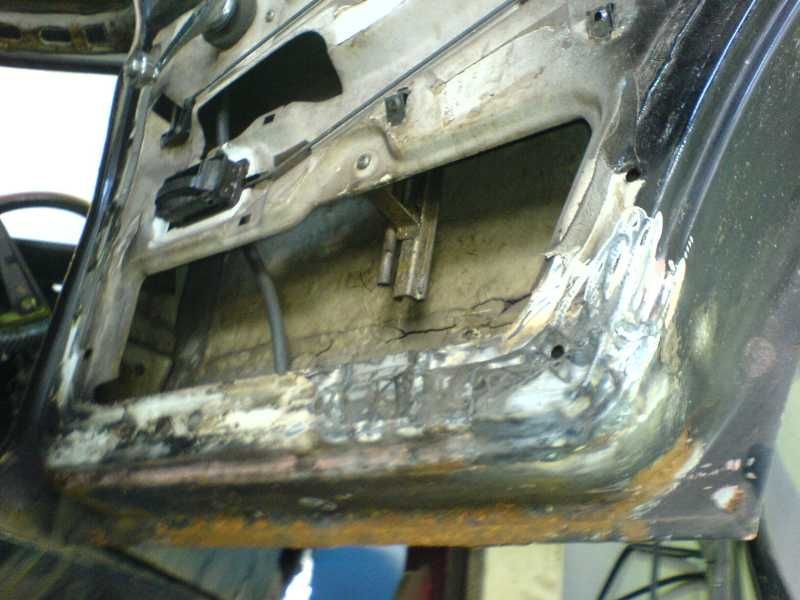
it is believed that some sections of my roof (closest to the rain channels), parts of the rear quarter panel (near the rear windscreen and around the fuel area) contain aluminium which means that they can't fix up the surrounding area. this is very wierd, because it actually looks like it's from the factory! i mean, how can you have mild steel and aluminium together? it's insane i tell you.

don't know if you can see it but it's the only part that doesn't look rusted (obviously). anyone have any idea? i'm quite puzzled really.
then came talk of engine transplants. not with ford engines of course as parts are harder to find not to mention more expensive over here but with japanese engines. let's face it, japanese engines are bulletproof (figure of speech ya). so the engine in question was the 1JZ from the toyota soarer. let me break it down for you.
to overhaul the current 1.6 OHC pinto:
RM 3000 (expected value based on quotation given by AMC as well as factoring in misc. items that might need replacement along the way)
to buy a toyota soarer 1JZ halfcut:
RM 3000.
this halfcut comes with the entire front end including body panels, dashboard, air-conditioning, automatic gearbox, ECU, front brakes as well as the fuel tank and rear axle which comes with disc brakes too!
so nice :)

we're talking about 4 times more power than the ol' pinto not to mention more torque (1600cc VS 2500cc), EFi and the ease of getting replacement parts in the future!
the downside of doing this is:
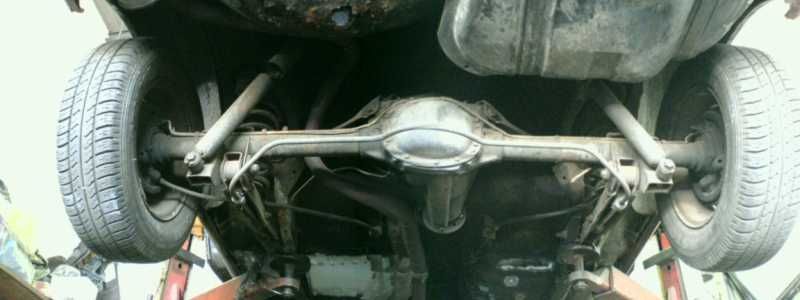
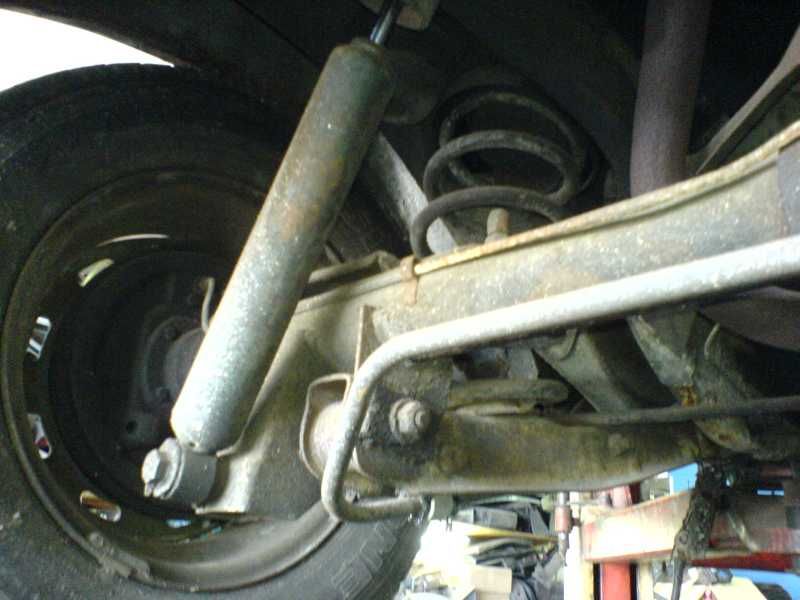
a) rear axle and possibly the entire suspension system would need to be reworked to properly fit the axle. therefore equals $$$.
b) our daft transport department does not allow/approve any engine transplants that are >25% of the original engine's displacement.
c) our daft transport department doesn't allow mods to the chassis unless you get extremely detailed drawings of the alterations which is to be checked by a registered engineer of the JPJ (our transportation department) which would not be approved ultimately.
*note: this is why you don't see many crazy conversions being driven legally on the roads of malaysia. if they do, they risk getting their car confiscated.*
d) if you want (b) and (c) to be accomplished, you need lots of $$$, and i mean lots of $$$. corruption, corruption, corruption.
again, it's all about proper practices which is almost never practiced here unfortunately.
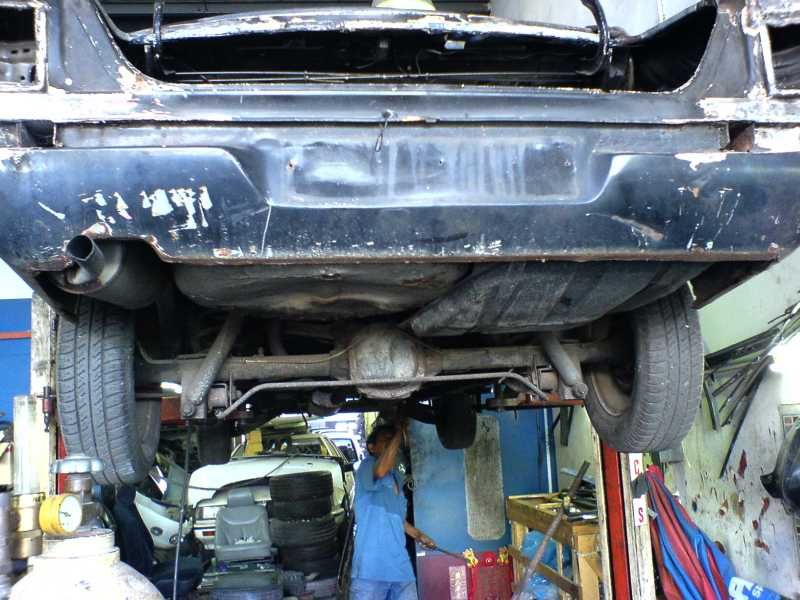
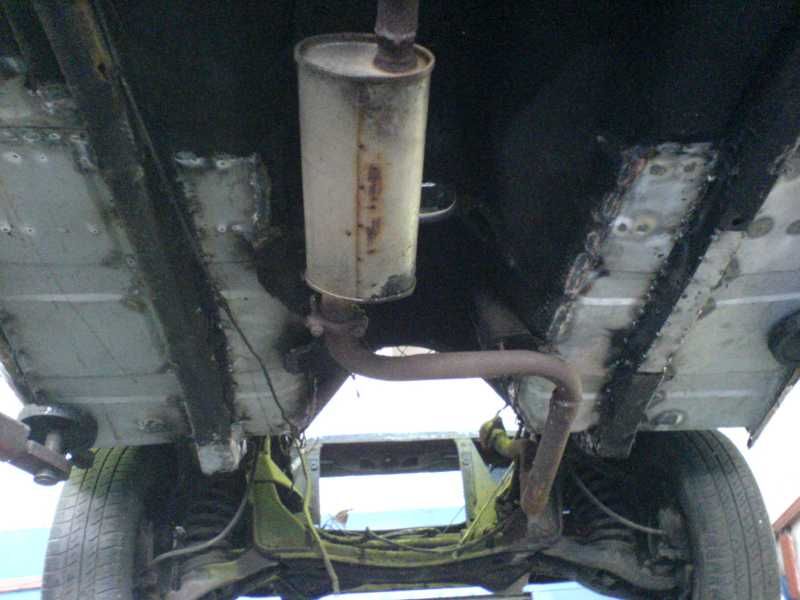
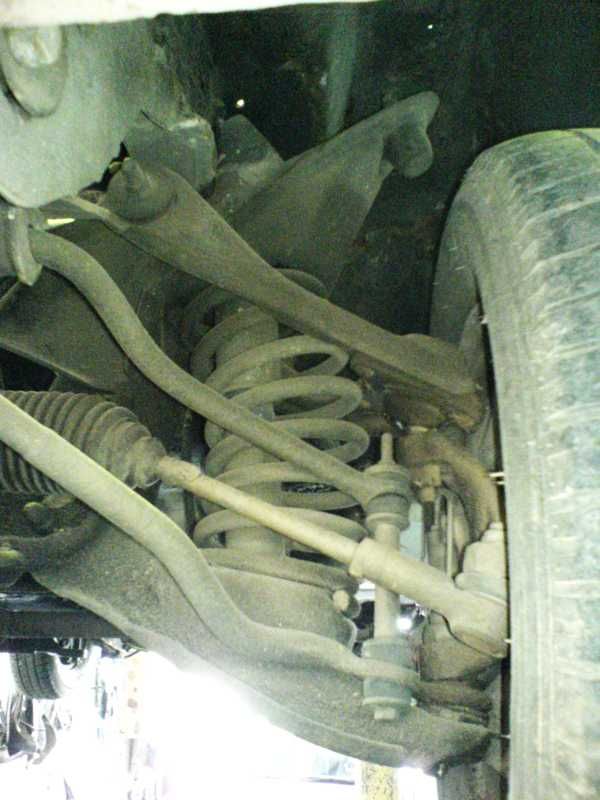
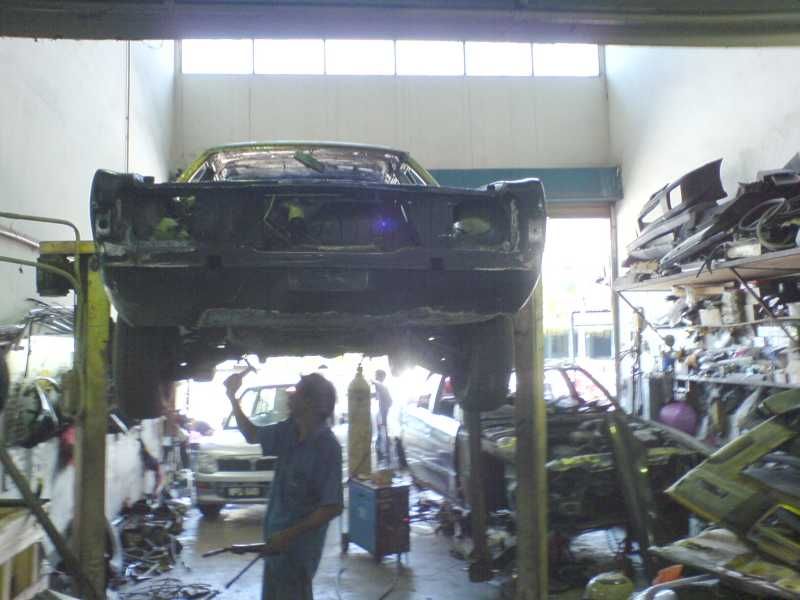
on the lighter side, just look at that engine! the cortina could definitely fit it without much trouble now wouldn't it? sigh. anyone know of other japanese engines that would fit without requiring much alteration to the rear axle? let me know.
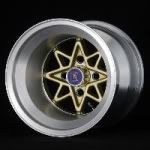
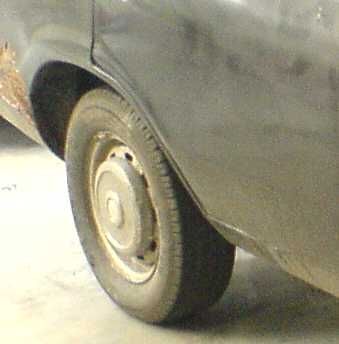
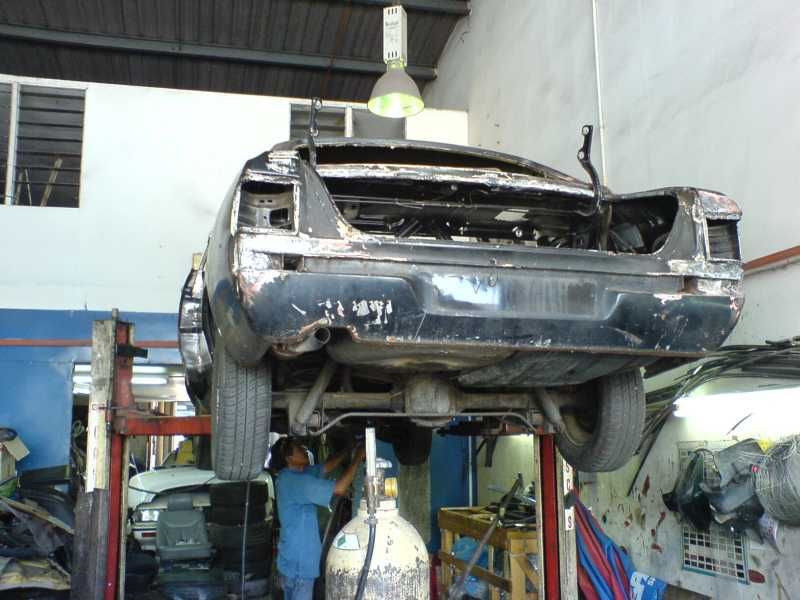
since the car's on the floor, might as well take the pic to help you visualize how good the flared arches are with wide wheels.
before:

after:

yes the left one's photoshopped. how else could it be done? notice how much meaner the stance of the car is? ahhh, satisfaction...satisfaction. (ignore the low-ness of the anti-roll bar brackets and tailpipe)